上传文件是互联网中常常应用的场景之一,最典型的情况就是上传头像等,今天就带着带着大家做一个 Spring Boot 上传文件的小案例。

1、pom 包配置
我们使用 Spring Boot 版本 2.1.0、jdk 1.8、tomcat 8.0。
引入了
spring-boot-starter-thymeleaf做页面模板引擎,写一些简单的上传示例。
2、启动类设置
@SpringBootApplication
public class FileUploadWebApplication {
public static void main(String[] args) throws Exception {
SpringApplication.run(FileUploadWebApplication.class, args);
}
@Bean
public TomcatServletWebServerFactory tomcatEmbedded() {
TomcatServletWebServerFactory tomcat = new TomcatServletWebServerFactory();
tomcat.addConnectorCustomizers((TomcatConnectorCustomizer) connector -> {
if ((connector.getProtocolHandler() instanceof AbstractHttp11Protocol)) {
//-1 means unlimited
((AbstractHttp11Protocol) connector.getProtocolHandler()).setMaxSwallowSize(-1);
}
});
return tomcat;
}
}
tomcatEmbedded 这段代码是为了解决,上传文件大于10M出现连接重置的问题。此异常内容 GlobalException 也捕获不到。
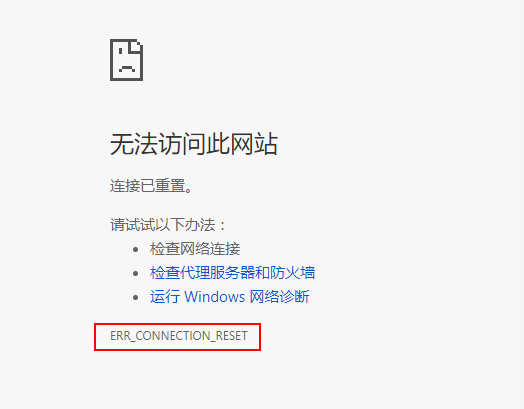
详细内容参考:Tomcat large file upload connection reset
3、编写前端页面
上传页面
Spring Boot file upload example
非常简单的一个 Post 请求,一个选择框选择文件,一个提交按钮,效果如下:

上传结果展示页面:
Spring Boot – Upload Status
效果图如下:

4、编写上传控制类
访问 localhost 自动跳转到上传页面:
@GetMapping(“/”)
public String index() {
return “upload”;
}
上传业务处理
@PostMapping(“/upload”)
public String singleFileUpload(@RequestParam(“file”) MultipartFile file,
RedirectAttributes redirectAttributes) {
if (file.isEmpty()) {
redirectAttributes.addFlashAttribute(“message”, “Please select a file to upload”);
return “redirect:uploadStatus”;
}
try {
// Get the file and save it somewhere
byte[] bytes = file.getBytes();
Path path = Paths.get(UPLOADED_FOLDER + file.getOriginalFilename());
Files.write(path, bytes);
redirectAttributes.addFlashAttribute(“message”,
“You successfully uploaded ‘” + file.getOriginalFilename() + “‘”);
} catch (IOException e) {
e.printStackTrace();
}
return “redirect:/uploadStatus”;
}
上面代码的意思就是,通过MultipartFile读取文件信息,如果文件为空跳转到结果页并给出提示;如果不为空读取文件流并写入到指定目录,最后将结果展示到页面。
MultipartFile是Spring上传文件的封装类,包含了文件的二进制流和文件属性等信息,在配置文件中也可对相关属性进行配置,基本的配置信息如下:
- spring.http.multipart.enabled=true #默认支持文件上传.
- spring.http.multipart.file-size-threshold=0 #支持文件写入磁盘.
- spring.http.multipart.location= # 上传文件的临时目录
- spring.http.multipart.max-file-size=1Mb # 最大支持文件大小
- spring.http.multipart.max-request-size=10Mb # 最大支持请求大小
最常用的是最后两个配置内容,限制文件上传大小,上传时超过大小会抛出异常:

更多配置信息参考这里:Common application properties
5、异常处理
@ControllerAdvice
public class GlobalExceptionHandler {
@ExceptionHandler(MultipartException.class)
public String handleError1(MultipartException e, RedirectAttributes redirectAttributes) {
redirectAttributes.addFlashAttribute(“message”, e.getCause().getMessage());
return “redirect:/uploadStatus”;
}
}
设置一个@ControllerAdvice用来监控Multipart上传的文件大小是否受限,当出现此异常时在前端页面给出提示。利用@ControllerAdvice可以做很多东西,比如全局的统一异常处理等,感兴趣的同学可以下来了解。
6、总结
这样一个使用 Spring Boot 上传文件的简单 Demo 就完成了,感兴趣的同学可以将示例代码下载下来试试吧。